
Are you using the web test feature of Google Analytics? I have conducted dozens of A/B tests using the web test function of Google Analytics.
Regarding such a web test function, “I don’t know the details of the function”, “It takes time to create multiple pages and insert tags”, “I can only test by page unit, I can not test common items for all pages” I think that there are many people who shy away from such reasons. Therefore, in this article, I will explain “Advantages of Google Analytics’ web test function” and “Simple implementation method for part-by-part testing”. Additionally, using this method, you can also run web tests from tag management tools such as Google Tag Manager.
If you are interested after reading this, please try the Google Analytics web test function.
This article is based on the information in Google Analytics Official Help (for developers) .
What is A/B testing?
A/B testing is a method of preparing different patterns of creative and comparing user reactions for each pattern to guide which pattern of creative is the best. When we say A/B testing, we tend to think of it as comparing two patterns, A pattern and B pattern, but in most cases, even if the number of patterns increases, the same scheme can be used.
A similar keyword is multivariate testing . A/B testing focuses on one change, while multivariate testing allows for multiple changes. For example, it is an image of testing a combination of “3 patterns of color schemes”, “4 patterns of CTA button text”, and “2 patterns of catch phrase messages” in the banner. In this example, the final combination is 24 patterns, so I think it will be difficult to implement it because we cannot judge the result unless we get more traffic.
Benefits of Google Analytics Web Testing Feature
I think there are many people who think that they can implement it by themselves if they just put out a few patterns and compare the conversion for each pattern. In fact, if you simply compare patterns and compare conversions,
- If the user has performed the same A/B test in the past, get which pattern at that time.
- If the user has not yet performed an A/B test, assign a new pattern
- Display the appropriate page for the pattern allocated in step 1 or 2
It is the end if you implement the flow in the program. If step 2 completely randomizes the allocation of new users, it would be very simple to implement.
However, if the allocation is completely random in step 2, even though it is known that “Pattern 1 is already producing better results at the stage of testing,” “Pattern 1 and Pattern 2 The display frequency becomes even”. When assigning a new pattern, if you know that “Pattern 1 produces better results”, you can reduce the opportunity loss during the test period by “increasing the ratio of allocating to Pattern 1”. I can do it.
In order to reduce this opportunity loss, there is the idea of a multi-armed bandit test as a method of calculating the optimal pattern for new users. Please refer to the). By assigning patterns to new users based on the multi-armed bandit test concept, we can minimize opportunity loss by allocating many patterns that are currently producing results even during A/B testing. I can. In this multi-armed bandit, there are various algorithms for implementation, and each has superiority and inferiority in performance, and there are merits and demerits. increase. However, Google Analytics’ web testing feature supports this multi-armed bandit test by default.
It can be said that the biggest advantage of using the web test function of Google Analytics is that it supports this multi-armed bandit and that it can be implemented for free.
Reference site for multi-armed bandits
- Cookpad Developer Blog – Optimizing display content with multi-armed bandits
- Bandit Algorithm Introduction and Practice (Slideshare)
- Better than A/B testing? Who is the bandit algorithm (Qiita)
Easy way to perform part-by-part testing
I hope you can see the benefits, but when I tried to run this web test and looked for help and other blog posts,
- You have to duplicate the web page for the pattern you want to implement
- The original page must have the web test tag (cannot be placed with a tag manager)
- Don’t change the intent of your content so that search engines don’t see it as cloaking
- It is necessary to set each web page so that it is not regarded as duplicate content by search engines.
- Redirect processing to delete unnecessary pages after testing is complete
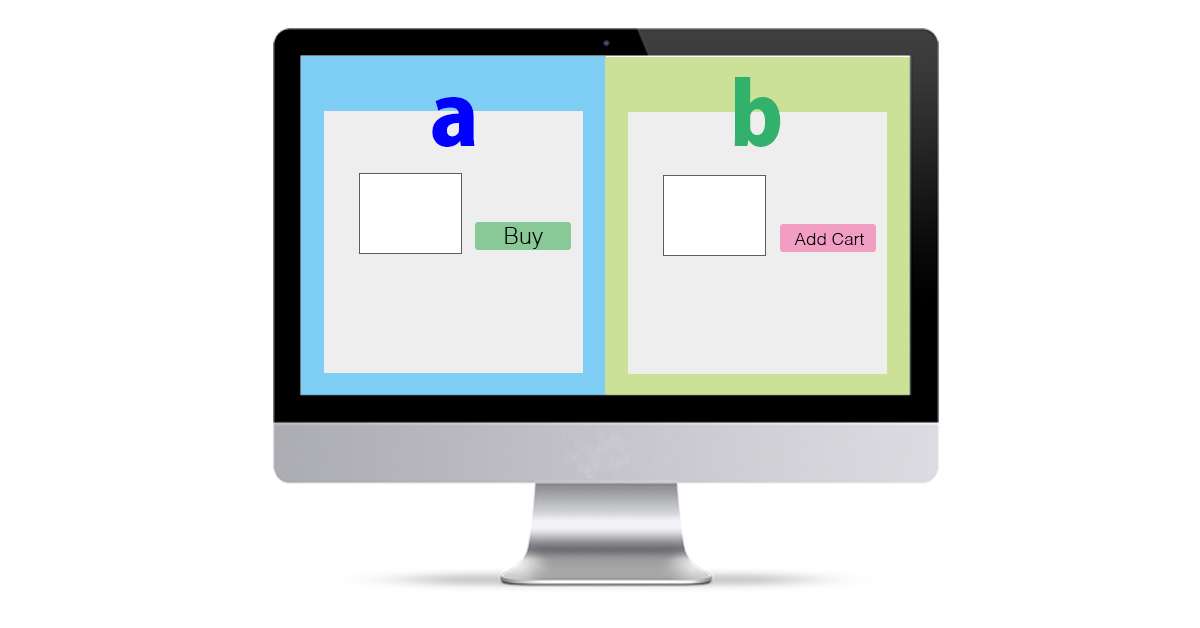
There are many things that seem to be troublesome, and I think that there are many people who are confused about the implementation. Furthermore, if you duplicate the web page for the pattern you want to implement, it may be impossible to conduct an A/B test of the cart button on the EC site. It will become.
However, if you use the method introduced here, you will be able to clear all the above troublesome things and use the web test function of Google Analytics if it is a “simple test for each part”.
This time, I will introduce based on the contents of the actual web test on this blog.
Web test on this blog
Since June 13, 2015, this blog has undergone a web test on all pages. The content of the web test is “change in size between fonts and line spacing in article content”.
Procedure introduction
Step 1: Implement the test pattern in JavaScript
In this method, in order to create a web test pattern, separate pages are not created, but each test pattern is issued separately using JavaScript. Therefore, it is necessary to implement JavaScript to display each test pattern. In this case, in addition to the default pattern, we need the pattern “Increased content font size and line spacing”. When implemented in JavaScript,
function () {
  jQuery('p').css({ 'font-size': '15px', 'line-height': '27px' });
}
By executing the code in , you can change the pattern to a larger font size and line spacing. It is difficult to find out how to write the pattern to be tested, but it would be a good idea to consult with a nearby programmer.
Step 2: Set up your web test on Google Analytics
The settings on the Google Analytics side are almost the same as those described in various other articles, so please refer to other articles and official help to set up. On top of that, in this method, it is difficult to specify URLs such as “original page”, “pattern 1” and “pattern 2”, but you can enter any URL here. For the time being, set the correct URL of the page to be tested as “original page”, and then set the URLs that have been changed appropriately for “pattern 1” and “pattern 2” (original page or pattern Note that you cannot register if it overlaps between.) Anything is fine for the “page name”, but since it will also be displayed in the web test report, I think it is better to use a name that makes it easy to understand the difference between the patterns to be tested.
Also, when the setting is completed, a test tracking code will be output and you will be asked to install it on the web page, but you do not need to do it at this point. Follow the steps below.
Step 3: Install the Test Tag
We will set up a web test tag, but here we do not use the tag output from the Google Analytics web test screen. Instead, create a tag like this: I’ll talk about tag execution conditions in step 4, so this step only prepares the tags.
<script src="//www.google-analytics.com/cx/api.js?experiment=ここにウェブテストのIDを入力"></script>
<script type="text/javascript">
  var variations = [
    function () {
      // オリジナル・パターンが選ばれたときに実行するべき処理をここに書く
    },
    function () {
      // パターン1が選ばれたときに実行するべき処理をここに書く
    },
    function () {
      // パターン2が選ばれたときに実行するべき処理をここに書く
    }
  ];

  // cxApi.chooseVariation() で、どのパターンが選ばれたかが返される。
  // 下の1行で、その選ばれたパターンに対応する関数を実行している。
  variations[ cxApi.chooseVariation() ]();
  dataLayer.push({'event': 'ABTestSetupCompleted'});
</script>
Step 4: Change Load Conditions for Each Tag
The tag you placed in step 3 above will properly set the trigger to run on the page where you run the test. And the Google Analytics pageview tag should be executed after the above tag is called. Since “ABTestSetupCompleted” is set in the event variable at the end of the above tag, the execution condition of the Google Analytics tag must create a trigger for the event “ABTestSetupCompleted” and set it to it. However, the caveat here is that the “ABTestSetupCompleted” event won’t fire for pages that don’t AB test, but the Google Analytics pageview tag still needs to fire. The settings are a little complicated, but I think it’s a good idea to create the following three types of triggers and adjust each rule.
- Pageview Trigger 1: The condition is when I run an A/B test
- Pageview Trigger 2: When the condition is not to run an A/B test
- Custom Event Trigger 3: Condition is ABTestSetupCompleted
In this case, the tag implemented in step 3 should be executed with page view trigger 1, and the Google Analytics page view tag should be executed with page view trigger 2 or custom event trigger 3. increase.
Step 5: Conduct a working test
On the Google Analytics screen, complete the web test settings and start the web test. At this point, you may get a message saying “Test code not found”, but you can ignore it and proceed.
Then set the container to preview mode in Google Tag Manager to see how it works. Open the page where the A/B test is to be performed, check with Google Tag Assistant, etc., and check whether the “Experiment ID” (xid) and “Experiment Variant” (xvar) are set and the Google Analytics page view tag is sent. Please Confirm. Also, make sure that “Experiment ID” (xid) and “Experiment Variant” (xvar) are not set and Google Analytics page view tags are sent for pages that are not A/B tested. If you want to check the A/B test pattern, try deleting the cookies and reopening the page.
Step 6: Publishing Tags and Checking Data
Once you’ve verified that your tags are set up without any issues, publish your tags and start running A/B tests. Also, after 3 to 4 hours have passed since the tag was published, it is a good idea to check the Google Analytics web test screen again and confirm that the data has been accumulated without any problems.
summary
Until now, I think there are many people who wanted to use the Google Analytics web test, but thought that the setting was troublesome because it could not be set from the tag manager. The method this time is a little difficult, but it can be implemented relatively easily once you get used to it.
Furthermore, the greatest advantage of this method is that it enables A/B testing of common parts used in many places on the site, such as site navigation, color/wording of purchase buttons on mail order sites, etc. It’s a point. With this method, the same test can be performed on all pages even in places where the number of sessions could not be tested with the previous method of page-based A/B testing.
By all means, use the web test function of Google Analytics to optimize your site.